
DIY: Cutting Valve Cover For Cam Gear ADJ.
2 posters
Page 1 of 1

DIY: Cutting Valve Cover For Cam Gear ADJ.
![]() BOWERS Sun Jan 20, 2008 1:05 am
BOWERS Sun Jan 20, 2008 1:05 am
Well, after you install a new set cams you'll need to get some cam gears to dial in the cams...this is going to require you to cut the valve cover if you don't feel like pulling it everytime you need to make an adustment.
DIY: Moon cut valve cover!
Tools needed:
Valve Cover
Drill
1/8 bit
3 1/2" hole saw<----- Seems to be the perfect size =)
Pilot bit holder thingy (don't know the exact name, sorry)
Hammer
Punch (or Phillips screw driver)
A buddy (or a vice)
Optional: A file to smooth down the edges.
Step 1: Locate your valve cover, remove it and get your tools ready to modify your valve cover!!!


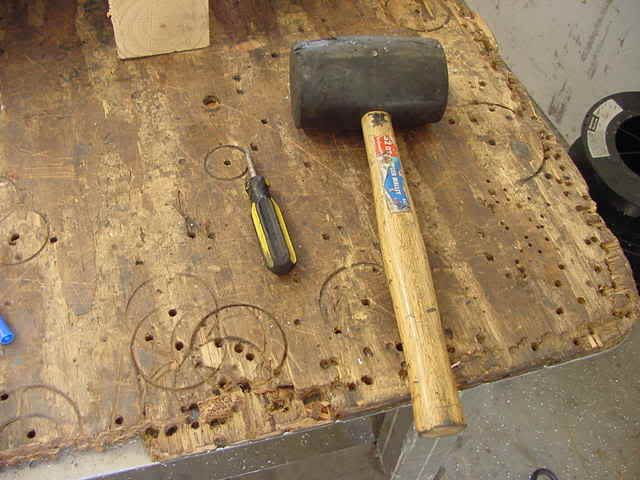
What your starting out with. I used the pic as a size reference for the cam gears.

Step 2: Measure to find the center of the cams. To the center of the lil slot, it's 2 5/8", approx. May be a 1/16th off or so.

Step 3: Indent the valve cover where your going to drill, and drill a pilot hole. I made my indentions, using the hammer and a punch, about at the top of the lil ridge on the valve cover. Reference t3h pic plz.

Step 4: Put the hole saw on the drill w/the pilot bit. Using a buddy or a vice (I used my good friend Dan) secure the valve cover so it won't move, muster up some courage and start cutting the valve cover. Maybe you'll end up with something like this.

You know I gotta throw a thumbs up in there

Step 5: Optional: Using a file, file down the sharpe edges till they are smooth. Don't want to possibly knick your timing belt when you re-install your valve cover. his may keep you from possibly cutting youself too, but who cares: Your finger will heal for free, you'd have to BUY a new timing belt Plus chics dig scarzz
Step 5 (or Step 6 if optional step is used): Clean the valve cover. Don't want any bits of metal in your engine do you? I didn't think so. Clean it as best as you can.
If you see anything that could add to this DIY and make it more helpful, by all means, let me know and I'll change it.
Enj0y!
DIY: Moon cut valve cover!
Tools needed:
Valve Cover
Drill
1/8 bit
3 1/2" hole saw<----- Seems to be the perfect size =)
Pilot bit holder thingy (don't know the exact name, sorry)
Hammer
Punch (or Phillips screw driver)
A buddy (or a vice)
Optional: A file to smooth down the edges.
Step 1: Locate your valve cover, remove it and get your tools ready to modify your valve cover!!!
What your starting out with. I used the pic as a size reference for the cam gears.
Step 2: Measure to find the center of the cams. To the center of the lil slot, it's 2 5/8", approx. May be a 1/16th off or so.
Step 3: Indent the valve cover where your going to drill, and drill a pilot hole. I made my indentions, using the hammer and a punch, about at the top of the lil ridge on the valve cover. Reference t3h pic plz.
Step 4: Put the hole saw on the drill w/the pilot bit. Using a buddy or a vice (I used my good friend Dan) secure the valve cover so it won't move, muster up some courage and start cutting the valve cover. Maybe you'll end up with something like this.
You know I gotta throw a thumbs up in there
Step 5: Optional: Using a file, file down the sharpe edges till they are smooth. Don't want to possibly knick your timing belt when you re-install your valve cover. his may keep you from possibly cutting youself too, but who cares: Your finger will heal for free, you'd have to BUY a new timing belt
Step 5 (or Step 6 if optional step is used): Clean the valve cover. Don't want any bits of metal in your engine do you? I didn't think so. Clean it as best as you can.
If you see anything that could add to this DIY and make it more helpful, by all means, let me know and I'll change it.
Enj0y!

BOWERS- Track Whore and Admin
-
 Number of posts : 226
Age : 43
Location : LINCOLN
Registration date : 2008-01-08 -

Re: DIY: Cutting Valve Cover For Cam Gear ADJ.
![]() Kries Tue Feb 19, 2008 2:33 am
Kries Tue Feb 19, 2008 2:33 am
Nice Write Up R-Bizzle! 

Kries- Admin
- Number of posts : 209
Age : 34
Location : Nebraska
Registration date : 2008-01-08 -
Page 1 of 1
Permissions in this forum:
You cannot reply to topics in this forum|
|
|